Ingredients
– 60 grams (1/2 cup) whole wheat flour for Day 1 starter creation
– 60 grams (1/4 cup) warm water (around 85°F) for Day 1 starter creation
– 60 grams (1/2 cup) unbleached all-purpose or bread flour for daily feedings from Days 3-7
– 60 grams (1/4 cup) water for daily feedings from Days 3-7
Instructions
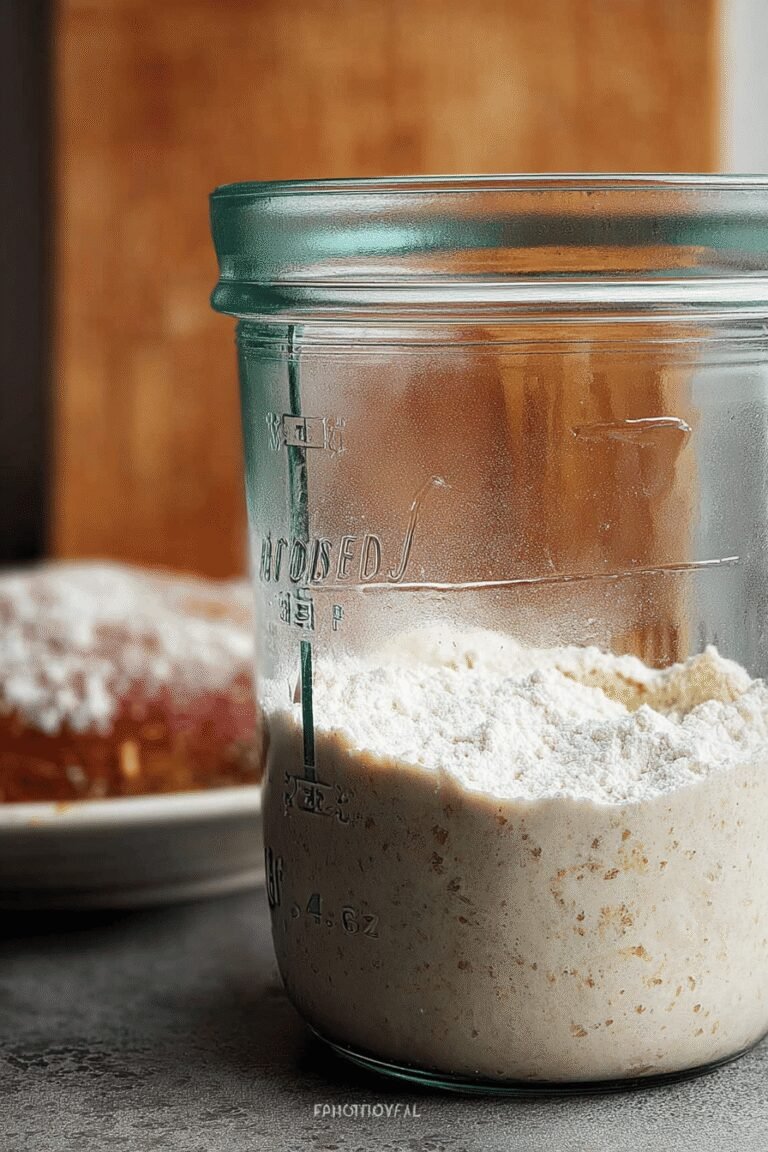
1-First Steps: Getting Started On Day 1, mix 60 grams (1/2 cup) whole wheat flour with 60 grams (1/4 cup) warm water in a large jar, about 3/4 liter in size, until it’s smooth and pasty. Cover the jar loosely and let it rest in a warm spot between 70-75°F for 24 hours. This warm environment helps the wild yeast and bacteria begin their work without any fuss.
2-First Steps: By Day 2, check for bubbles; if you don’t see any, just stir it once or twice and let it rest another 24 hours. It’s normal for things to be slow at first, so stay patient and keep that spot warm. This step builds the foundation for a strong starter that will make your bread rise beautifully.
3-Daily Feedings and Maintenance: From Day 3 through Day 7, discard half of the starter each day to keep acidity in check and remove excess bacteria. Then, add 60 grams (1/2 cup) unbleached all-purpose or bread flour and 60 grams (1/4 cup) water, mixing well before scraping down the sides of the jar. Cover it again and let it rest in that warm spot for another 24 hours.
4-Daily Feedings and Maintenance: By Day 7 or 8, your starter should double in size, full of bubbles, and have a slightly fruity smell. To test if it’s ready, drop a teaspoon into water; if it floats, you’re good to go. Once active, you can use it for bread or other recipes, and even name your starter for a personal touch.
Last Step:
Please leave a rating and comment letting us know how you liked this recipe! This helps our business to thrive and continue providing free, high-quality recipes for you.Notes
🌡️ Keep the starter in a consistently warm spot (70-75°F) to encourage fermentation; an oven with the light on or a microwave with the door open works well.
⚖️ Always measure flour and water by weight (60 grams each) for reliable results.
♻️ Discarding half the starter daily before feeding helps control acidity and balances the culture for healthy growth.
- Prep Time: 7 days plus daily few-minute feedings
- Resting Time: 24 hours between feedings
- Category: Bread Starter
- Method: Fermentation
- Cuisine: Universal
- Diet: Vegan, Gluten