Ingredients
– 12 hard boiled eggs for dyeing and decorating
– 1/2 cup vinegar for better dye absorption and enhanced color vibrancy
– Food coloring or egg dye
– 2 cups water for layering and creating soft watercolor shades
Instructions
First Step: Hard boil and prepare eggs Begin by hard boiling the eggs. Place them in a pot covered with cold water, bring to a boil, then simmer for 10 minutes. Immediately transfer eggs to an ice water bath to cool completely, preventing overcooking and cracking.
Second Step: Prepare dye baths Mix food coloring with vinegar and water in separate containers for each color, using about 10 to 12 drops of food coloring per cup of water for saturated hues. Adjust amounts to create lighter shades if desired for layering effects.
Third Step: Soak eggs to enhance dye absorption Soak cooled eggs in a 50/50 mixture of vinegar and water for about 5 minutes. This step cleanses and preps the eggshells for better dye adherence and more vibrant colors.
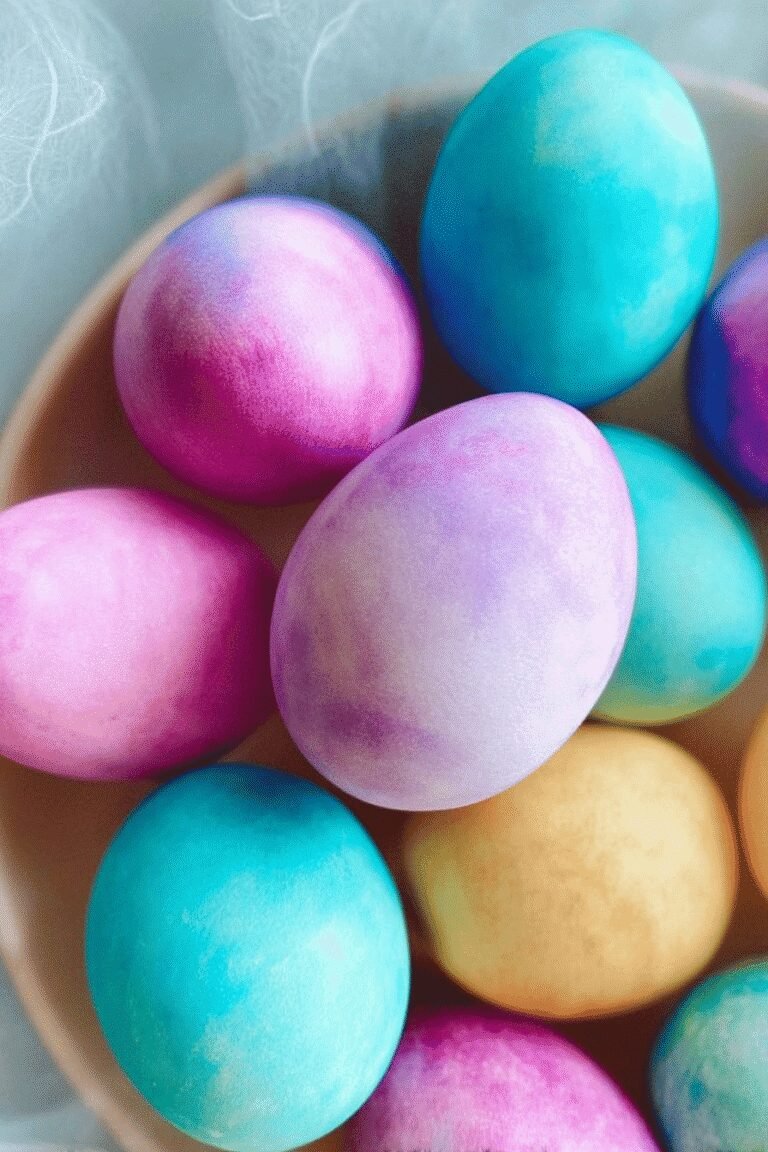
Fourth Step: Apply watercolor effects Hold each egg gently and slowly pour spoonfuls of dye over the surface, starting with darker colors to create depth. Use brushes or sponges as needed to blend hues softly. Allow eggs to dry fully between layers to prevent colors from bleeding together.
Fifth Step: Layer additional colors Repeat the dye application with lighter or contrasting colors after the first layer dries. This layering technique builds rich, translucent watercolor effects characteristic of the style.
Sixth Step: Use alternative artistic methods Try drawing designs with waterproof markers or wax crayons before dyeing for resist effects. Roll wet eggs in marker ink on plastic bags for blended patterns, or use white glue mixed with ink to add raised contrasting designs.
Final Step: Dry and display Place dyed eggs on plastic caps or similar stands to dry completely. Speed drying with a blow dryer on low heat can reduce wait times. Once dry, arrange eggs artistically for display or gifting.
Last Step:
Please leave a rating and comment letting us know how you liked this recipe! This helps our business to thrive and continue providing free, high-quality recipes for you.Notes
🖌️ Tip: Ensure each dye layer dries completely before adding the next to prevent muddiness.
🔄 Tip: Use bottle caps as stands to keep eggs from rolling during drying.
💡 Tip: For edible eggs, stick with food-safe colors and avoid non-food safe markers.
- Prep Time: 10 minutes
- Drying Time: 50 minutes
- Category: Craft
- Method: Decoration
- Cuisine: N/A