Ingredients
– 6 cups puffed rice cereal for crispy texture
– 3 tablespoons butter for richness
– 1 (10 oz) package mini marshmallows for binding
– Orange gel food coloring for pumpkin color
– 3 pretzel rods, broken into 2-inch pieces (6 pieces) for pumpkin stems
– 6 mini green taffy candies or green fondant for leaves and vines
– 1/2 teaspoon pumpkin pie spice for seasonal flavor
– 1/2 teaspoon vanilla extract for flavor enhancement
– white chocolate chips for drizzling
Instructions
1-Step One: Prepare Your Workspace and Ingredients Begin by measuring and pouring 6 cups of puffed rice cereal into a large bowl. Having the cereal measured and ready prevents scrambling once the marshmallow mixture is hot and beginning to set. Clear a section of counter space and line it with parchment paper or lightly spray it with non-stick cooking spray. This preparation prevents the sticky mixture from adhering to surfaces and makes cleanup significantly easier.
2-Step Two: Melt the Butter Place a 4-quart non-stick saucepan over medium-low heat and add 3 tablespoons of butter. Allow the butter to melt completely, tilting the pan gently to coat the bottom evenly. Keeping the heat at medium-low prevents the butter from browning or burning, which would create off-flavors in your finished treats. The butter should melt slowly and become completely liquid without sizzling or bubbling.
3-Step Three: Add and Melt Marshmallows Add the entire 10-ounce package of mini marshmallows to the melted butter. Begin stirring immediately and continue stirring constantly as the marshmallows begin to melt. The mixture will start out lumpy but gradually smooth out as the marshmallows liquefy. This constant stirring prevents hot spots and ensures even melting throughout the mixture.
4-Step Four: Add Orange Color Once the marshmallows have nearly finished melting, begin adding orange gel food coloring gradually. Start with a small amount and add more until you reach your desired pumpkin orange shade. Gel food coloring is concentrated, so a little goes a long way. Stir constantly as you add color to ensure even distribution throughout the marshmallow mixture. Continue stirring until the marshmallows are fully melted and the color is uniform.
5-Step Five: Combine with Cereal Remove the saucepan from heat immediately once the marshmallows are completely melted and the orange color is evenly distributed. Pour in the measured puffed rice cereal all at once. Using a silicone spatula or wooden spoon, gently fold the cereal into the marshmallow mixture until every piece is evenly coated. Work quickly but gently to avoid crushing the cereal while ensuring complete coverage. The mixture should be uniformly orange with no dry cereal visible.
6-Step Six: Cool to Safe Handling Temperature Allow the mixture to cool in the bowl for approximately 5 minutes, or until it reaches a temperature safe for handling. The mixture should still be warm and pliable but not so hot that it burns your hands. This cooling period is crucial because attempting to shape the treats while too hot will result in misshapen pumpkins and potentially burned fingers. However, waiting too long will make the mixture difficult to shape.
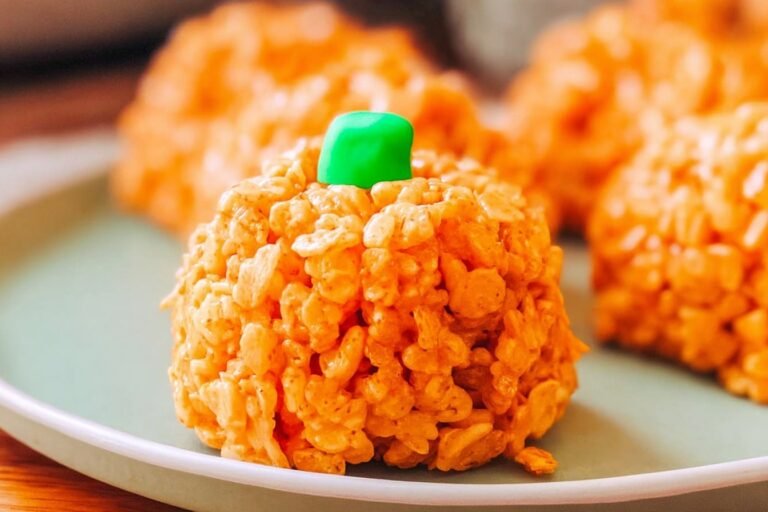
7-Step Seven: Shape the Pumpkins Spray your hands generously with non-stick cooking spray or wet them slightly with water. Scoop a baseball-sized portion of the warm mixture and quickly roll it between your palms to form a smooth ball. Work the mixture firmly but gently to create a round shape without compressing it too tightly. Immediately insert one pretzel rod piece into the top center of each ball, pressing it about halfway down into the treat. Reshape the pumpkin around the stem if needed, as the insertion can sometimes distort the round shape.
8-Step Eight: Create Leaves and Vines While the shaped pumpkins set, prepare the decorative elements. Cut leaf shapes from the green taffy candies using scissors or a small knife. Alternatively, shape green fondant into leaf forms using your fingers. Roll any remaining green candy into thin ropes and twist them gently to create vine shapes. These details add the finishing touches that transform simple orange balls into recognizable pumpkins.
9-Step Nine: Add Final Decorations Attach the candy leaves and twisted vines to the sides of the pretzel stems on each pumpkin. The warmth remaining in the treats will help the decorations adhere, so work while the pumpkins are still slightly warm. Press gently but firmly to ensure the decorations stick. Place each finished treat on a plate that has been lightly sprayed with cooking spray to prevent sticking.
10-Step Ten: Set and Store Allow the completed Rice Krispies Pumpkin Treats to set for about 15-20 minutes at room temperature before serving. Once fully set, transfer them to an airtight container for storage. If you need to stack the treats, place a sheet of wax paper or parchment paper between layers to prevent them from sticking together. Your festive pumpkin treats are now ready to serve and enjoy!
Last Step:
Please leave a rating and comment letting us know how you liked this recipe! This helps our business to thrive and continue providing free, high-quality recipes for you.Notes
💦 Spray or wet hands before shaping to avoid sticky mess.
🟢 Green taffy makes quick, vibrant leaves kids adore.
🎃 Stir in pumpkin pie spice & vanilla for extra fall flavor.
- Prep Time: 20 minutes
- Cook Time: 5 minutes
- Category: Dessert
- Method: Stovetop
- Cuisine: American
- Diet: Vegetarian
Nutrition
- Serving Size: 1 treat
- Calories: 365 kcal
- Sugar: 33g
- Sodium: 306mg
- Fat: 7g
- Saturated Fat: 3g
- Unsaturated Fat: 4g
- Trans Fat: 0g
- Carbohydrates: 69g
- Fiber: 0g
- Protein: 2g
- Cholesterol: 15mg