Ingredients
– 2 cups all-purpose flour for the base
– 2 tablespoons unsweetened cocoa powder for flavor and color
– 1 teaspoon baking soda for rising
– 1/2 teaspoon salt for balancing sweetness
– 1 cup granulated sugar for sweetness
– 1/2 cup unsalted butter, softened for creaming
– 1 large egg for binding
– 1 tablespoon red food coloring for color
– 1 teaspoon vanilla extract for flavor
– 1 teaspoon white vinegar for lift and tang
– 1/2 cup buttermilk for moisture and tanginess
– 4 ounces cream cheese, softened for the filling
– 1/4 cup powdered sugar for sweetening
– 1/2 teaspoon vanilla extract for flavor
Instructions
1-First Step: Gather and Prep Your Ingredients Start by pulling together all the ingredients listed above to make your process smooth and enjoyable. Measure out 2 cups of flour, 2 tablespoons of cocoa powder, and the rest as specified this mise en place will have you feeling prepared and excited! Preheat your oven to 375°F and line baking sheets with parchment paper for easy cleanup, which helps with the quick cooking time of about 10-12 minutes per batch.
2-Second Step: Mix the Dry Ingredients In a medium bowl, whisk together 2 cups of flour, 2 tablespoons of cocoa powder, 1 teaspoon of baking soda, and 1/2 teaspoon of salt until well combined. This step ensures even distribution, which is key for that perfect texture in your red velvet cookies. If you’re making a gluten-free version, swap the flour now to avoid any issues later!
3-Third Step: Cream the Wet Ingredients In a large bowl, beat 1 cup of softened butter and 1 cup of sugar until light and fluffy, about 2-3 minutes this creates a base that’s full of flavor! Add 1 large egg, 1 tablespoon of red food coloring, 1 teaspoon of vanilla extract, and 1 teaspoon of white vinegar, mixing until smooth. Pour in 1/2 cup of buttermilk and blend well; this mixture brings the signature tang and color to your easy red velvet cookie sandwiches recipe.
4-Fourth Step: Combine and Form the Dough Gradually add the dry ingredients to the wet mixture, stirring until just combined to keep the dough from getting tough. Use a spoon or your hands to form the dough into 1-inch balls and place them on the prepared baking sheets, spacing them about 2 inches apart. Bake at 375°F for 10-12 minutes or until the edges are set, allowing for adaptations like vegan substitutes if needed.
5-Fifth Step: Prepare the Filling While the cookies cool completely on a wire rack, which takes about 15-20 minutes, make the filling by beating 4 ounces of softened cream cheese, 1/4 cup of powdered sugar, and 1/2 teaspoon of vanilla extract until creamy. For low-calorie options, use a lighter cream cheese here to customize your homemade red velvet cookie sandwiches. This step is where the magic happens, turning simple cookies into delightful sandwiches!
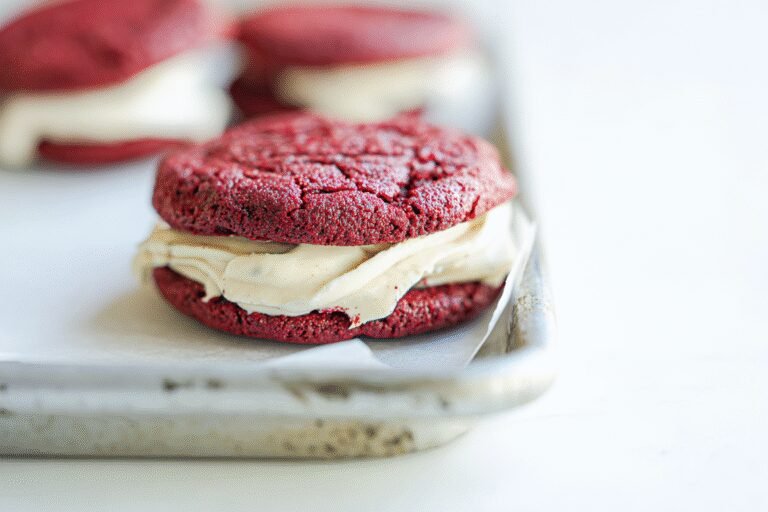
6-Final Step: Assemble and Serve Once cooled, spread or pipe about 1 tablespoon of the filling onto the flat side of one cookie and gently press another cookie on top to form a sandwich. Serve immediately for the best texture, or store as outlined later perfect for busy parents packing snacks! These simple red velvet cookie sandwiches are ready to wow at your next gathering, with that festive homemade dessert vibe everyone loves.
Last Step:
Please leave a rating and comment letting us know how you liked this recipe! This helps our business to thrive and continue providing free, high-quality recipes for you.Notes
🍪 Use gel food coloring for a vibrant red without altering the batter’s consistency.
🍰 Chill the filling before using to make assembly easier and less messy.
❤️ Store the sandwiches in the fridge to keep the cream cheese filling firm.
- Prep Time: 20 minutes
- Chilling: 15 minutes
- Cook Time: 10 minutes
- Category: Dessert
- Method: Baking
- Cuisine: American
- Diet: Vegetarian
Nutrition
- Serving Size: 1 sandwich (about 50g)
- Calories: 250
- Sugar: 15g
- Sodium: 150mg
- Fat: 14g
- Saturated Fat: 8g
- Unsaturated Fat: 5g
- Trans Fat: 0g
- Carbohydrates: 28g
- Fiber: 1g
- Protein: 3g
- Cholesterol: 50mg