Ingredients
2 cups very cold heavy whipping cream
14 oz can sweetened condensed milk
2 teaspoons pure vanilla extract
Food coloring in six different colors
coconut cream for vegan option
plant-based sweetened condensed milk for vegan option
Instructions
1-Gather and Prepare Ingredients: Begin by chilling everything you’ll use, like your bowl and whisk, in the freezer for at least 30 minutes. Make sure your heavy whipping cream and sweetened condensed milk are very cold too. This step ensures a creamy texture that holds those vibrant layers we all enjoy.
2-Whip the Cream: Pour the 2 cups of heavy whipping cream into a large chilled bowl and whip it until stiff peaks form. Once that’s done, in a separate bowl, mix the 14 oz can of sweetened condensed milk with 2 teaspoons of pure vanilla extract until it’s smooth. Carefully fold this mixture into the whipped cream to keep it airy and light.
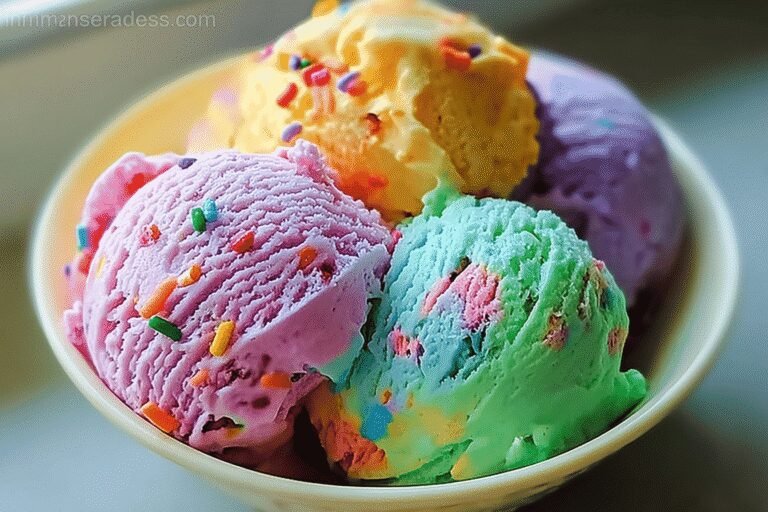
3-Divide and Color the Mixture: Now, divide the base into six bowls, about 1 cup each. Add a different food coloring to each one and gently fold it in without deflating the mixture. This creates the colorful layers that make Rainbow Ice Cream so appealing to kids and adults alike.
4-Layer and Freeze: Take your chilled container and drop spoonfuls of each colored mixture into it, alternating colors to keep them separate. Cover the container and freeze it for at least eight hours in the coldest part of your freezer. For more tips on no-churn methods, check out the external resource: How to Make Ice Cream Without a Machine.
5-Serve and Enjoy: Before serving, let the ice cream sit at room temperature for a few minutes. You can adjust for dietary needs by using substitutes like almond milk for a vegan version. The total prep time is just 15 minutes, with 8 hours of freezing, so it’s ready for your next gathering.
Last Step:
Please leave a rating and comment letting us know how you liked this recipe! This helps our business to thrive and continue providing free, high-quality recipes for you.Notes
🎨 Whip cream until stiff peaks form for best texture.
❄️ Use a freezer-friendly loaf pan or square dish for easy storage.
🛡️ Place plastic wrap or parchment paper directly on the surface before covering to prevent ice crystals.
- Prep Time: 15 minutes
- Freeze time: 8 hours
- Category: Dessert
- Method: No-churn mixing and freezing
- Cuisine: American
- Diet: Standard
Nutrition
- Serving Size: 1 serving
- Calories: 488
- Sugar: 36 grams
- Sodium: 114 milligrams
- Fat: 35 grams
- Saturated Fat: 22 grams
- Carbohydrates: 38 grams
- Protein: 7 grams
- Cholesterol: 131 milligrams