
Benefits and Advantages of Pierogi Recipe
This pierogi recipe offers several benefits that make it a favorite for home cooks. It is straightforward to prepare with simple steps, making it accessible even for beginners. The ingredients used are versatile and can be adjusted to improve healthfulness by opting for lower-fat fillings or whole grain dough to boost fiber. Pierogies are adaptable to various dietary needs, including vegan and gluten-free options, allowing everyone to enjoy this comforting traditional dish. Nutritionally, pierogies provide a balanced mix of carbohydrates, proteins, and vegetables, contributing to a wholesome meal. Combining ease of preparation with nutritional value, this recipe is perfect for family gatherings and everyday meals.
Jump to:
- Benefits and Advantages of Pierogi Recipe
- Essential Ingredients for Pierogi Recipe
- Dietary Substitutions to Customize Your Pierogi Recipe
- Gluten-Free Adaptations
- Vegan Options
- Low-Calorie and Health-Conscious Variations
- How to Prepare the Perfect Pierogi Recipe: Step-by-Step Guide
- Mastering pierogi recipe: Advanced Tips and Variations
- How to Store pierogi recipe: Best Practices
- Nutritional Value of pierogi recipe
- FAQs: Frequently Asked Questions About pierogi recipe
- What are pierogi and what common fillings can I use?
- How do I prepare the dough to get soft but sturdy pierogi?
- What is the best way to cook pierogi so they don’t stick together?
- Can I freeze pierogi before or after cooking, and how do I reheat them?
- What types of potatoes work best for pierogi filling and how do I prevent watery filling?
- Authentic Polish Pierogi Recipe for Homemade Traditional Dumplings
- Ingredients
- Instructions
- Last Step:
- Notes
- Nutrition
- Did you make this recipe?
Essential Ingredients for Pierogi Recipe
- Dough:
- 6 cups (720g) all-purpose flour
- 2 teaspoons salt
- 2 large eggs (beaten)
- 6 tablespoons canola or vegetable oil
- 2 cups cold water (divided; about 1½ cups initially, add more if needed)
- Filling:
- 3 ¾ pounds (approx. 1.7 kg) baking potatoes (russet or similar starchy potato)
- 1 medium white onion, finely diced
- ⅓ cup (75g) salted butter, softened and divided
- 4 ½ cups (about 450g) finely shredded sharp cheddar cheese
- Salt to taste
- White pepper or finely ground black pepper to taste
- For Serving:
- 1 onion (diced or thinly sliced)
- 2 tablespoons (28g) salted butter for frying
- Sour cream (optional)
These ingredients are carefully selected to create tender dough and creamy, flavorful filling. For vegan versions, substitute cheese with plant-based alternatives or mushrooms. Gluten-free dough can be made using certified gluten-free flour blends.
Dietary Substitutions to Customize Your Pierogi Recipe
Customizing the pierogi recipe is simple to accommodate dietary preferences or restrictions:
Gluten-Free Adaptations
Replace all-purpose flour with a certified gluten-free flour blend that mimics traditional dough texture. You may need to adjust liquid amounts and allow dough to rest longer due to different absorption rates.
Vegan Options
- Substitute cheese with plant-based cheese or use sautéed mushrooms or lentils for filling.
- Replace butter with plant-based margarine or oils both in filling and for frying.
Low-Calorie and Health-Conscious Variations
- Reduce cheese quantity or use low-fat cheese varieties.
- Add vegetables like spinach or cabbage to increase fiber and reduce overall calories.
- Lower sodium by using less salt or reduced-sodium cheese and seasoning.
These substitutions keep the comforting essence of pierogi while adapting to diverse diet requirements, ensuring everyone can enjoy this traditional meal.
How to Prepare the Perfect Pierogi Recipe: Step-by-Step Guide
- Make the dough: In a large bowl, combine 6 cups flour, 2 teaspoons salt, 2 beaten eggs, 6 tablespoons oil, and about 1½ cups cold water. Mix and knead on a floured surface until smooth and pliable, adding more water if needed. Cover and let rest for 30 minutes to 1 hour.
- Prepare the filling: Peel and cube 3 ¾ pounds potatoes, boil in salted water until tender (~15 minutes). Meanwhile, sauté diced onion in half the butter until softened but not browned. Drain potatoes, mash until smooth, then mix in cooked onions, shredded cheddar, remaining butter, salt, and pepper. Let the filling cool completely.
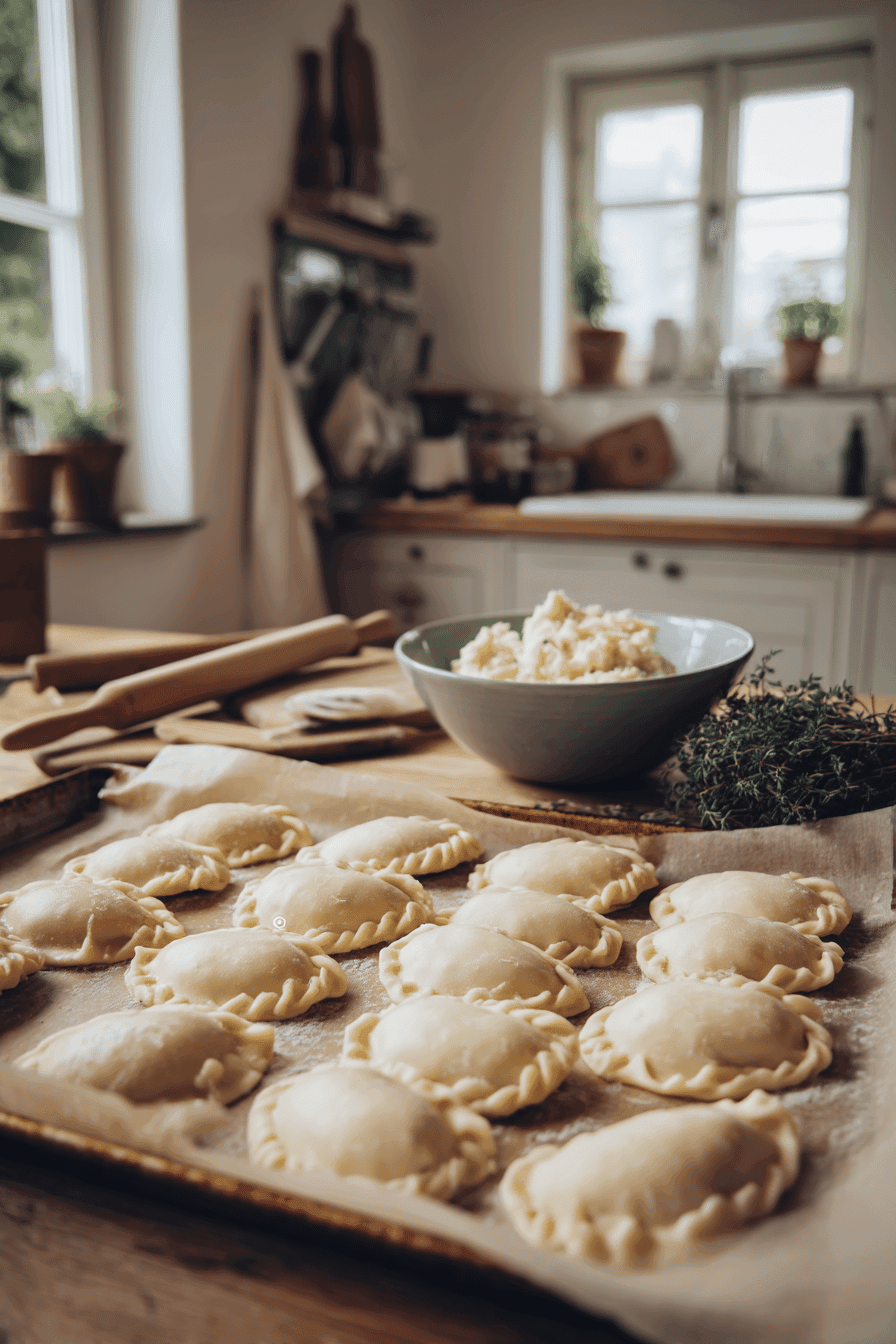
- Assemble pierogies: Divide dough and roll out one half to about ⅛-inch thickness. Cut into 3-inch circles using a cutter or jar lid. Place 1½ tablespoons of filling in the center of each circle.
- Seal the pierogies: Fold dough over to form a half-moon shape and press edges firmly, pinching tightly to prevent leaks. Place assembled pierogies on parchment-lined baking sheets. Repeat with remaining dough and filling.
- Cook pierogies: Bring a large pot of salted water to a boil. Cook pierogies in batches without crowding until they float (2–4 minutes). Remove gently with a slotted spoon.
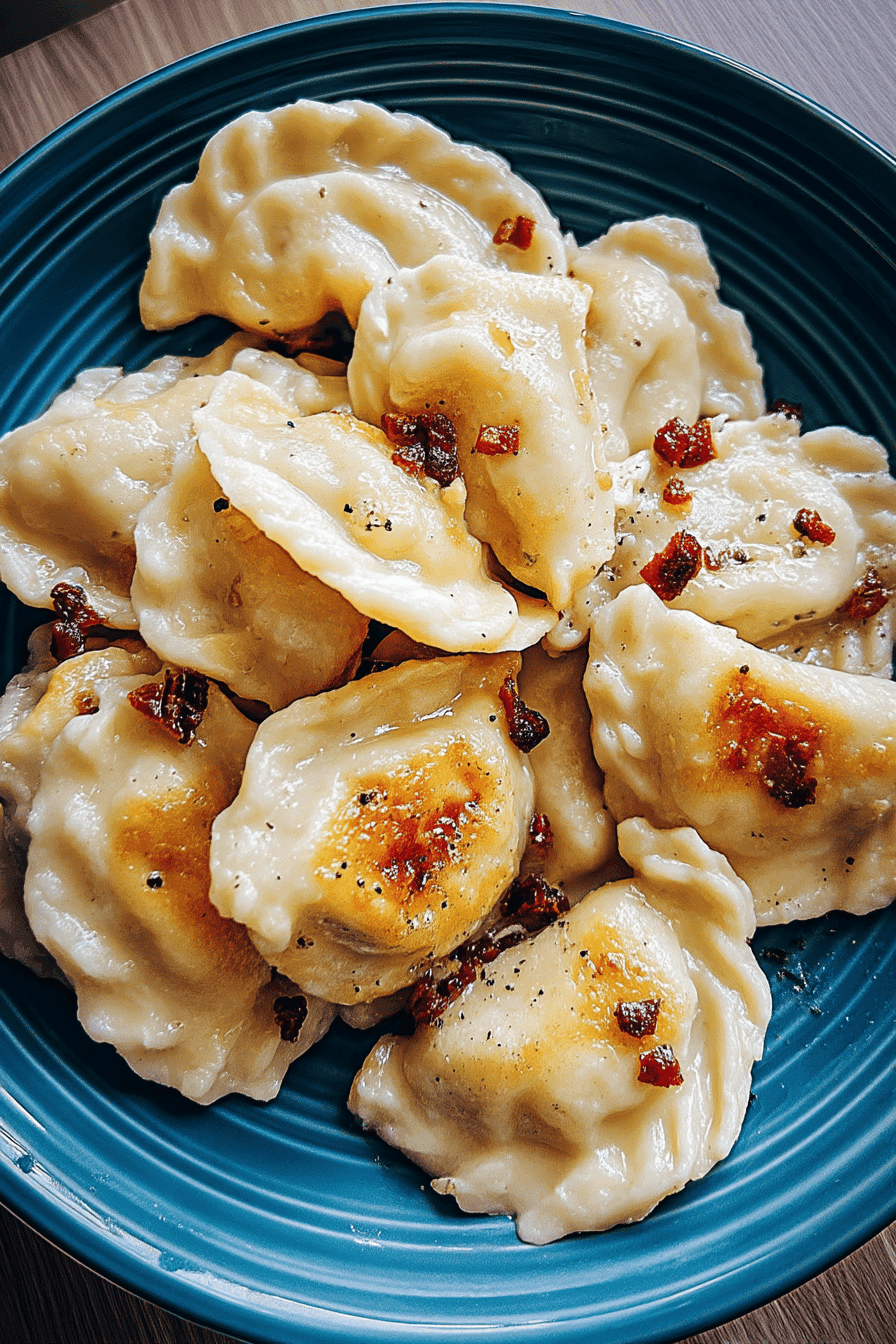
- Optional frying: Heat butter in a skillet and fry boiled pierogies until golden and crisp on both sides (~5 minutes). Sauté diced onions in butter to serve on top.
- Serve: Enjoy pierogies warm with sautéed onions and optional sour cream. Garnish with fresh herbs like parsley or chives if desired.
This stepwise process delivers tender, authentic pierogies with creamy filling and a delicate, slightly crispy finish when pan-fried.
For more traditional inspiration, visit traditional pierogi recipes.
Mastering pierogi recipe: Advanced Tips and Variations
Mastering the pierogi recipe involves paying close attention to the dough’s texture and experimenting with fillings to suit your taste. The dough should be soft but not sticky; if it feels too tacky, gradually add flour, or if it’s too dry, a touch of water helps achieve the perfect consistency. For those using gluten-free flour, allowing the dough to rest longer or incorporating xanthan gum can improve elasticity and ease of handling.
Try creative filling variations beyond the classic potato and cheddar. Sweet pierogies can be filled with fruits like blueberries or cherries, making a delightful dessert. For savory twists, incorporate protein-rich fillings such as mashed lentils or sautéed mushrooms with herbs. Additionally, some cooks prefer to bake pierogies, brushing them with butter or oil beforehand, for a crispier texture compared to the traditional boiled and pan-fried method.
Serving pierogies with different sauces or garnishes like fresh herbs, sautéed onions, or a dollop of sour cream can elevate the dish and tailor it to your personal preference.
How to Store pierogi recipe: Best Practices
Proper storage is key to keeping pierogies fresh and delicious. For short-term storage, arrange uncooked pierogies on a lightly floured tray to prevent sticking, cover tightly with plastic wrap, and refrigerate for up to 2 days. To freeze, place the uncooked pierogies in a single layer on a parchment-lined baking sheet and freeze until firm. Transfer the frozen pierogies to airtight freezer bags for storage up to 3 months.
When ready to cook, pierogies can be boiled straight from frozen, adding a couple of minutes to the usual cooking time. Alternatively, thaw gently in the refrigerator before pan-frying or boiling. These steps preserve texture and flavor whether you eat them fresh or from the freezer.
Nutritional Value of pierogi recipe
Pierogies offer a balanced combination of macronutrients and micronutrients. Each pierogi contains approximately 109 calories, 14 grams of carbohydrates, 4 grams of protein, and 4 grams of fat, including about 3 grams of saturated fat. The carbohydrates mainly come from the dough’s flour, while the protein comes from cheese and potatoes used in the filling.
| Nutrient | Amount per Pierogi | Notes |
|---|---|---|
| Calories | 109 | Moderate energy content per serving |
| Carbohydrates | 14 g | Mainly from dough flour, providing energy |
| Protein | 4 g | From cheese and potatoes, supporting muscle health |
| Fat | 4 g (3 g saturated) | Includes fats from butter and cheese |
| Sodium | 136 mg | Moderate salt content from seasoning and filling |
Using whole-grain flour or adding vegetables to the filling can boost fiber content and vitamins such as vitamin C, calcium, and iron. This nutritional profile makes pierogies a satisfying meal when paired with fresh toppings or sides.
FAQs: Frequently Asked Questions About pierogi recipe
What are pierogi and what common fillings can I use?
How do I prepare the dough to get soft but sturdy pierogi?
What is the best way to cook pierogi so they don’t stick together?
Can I freeze pierogi before or after cooking, and how do I reheat them?
What types of potatoes work best for pierogi filling and how do I prevent watery filling?
Authentic Polish Pierogi Recipe for Homemade Traditional Dumplings
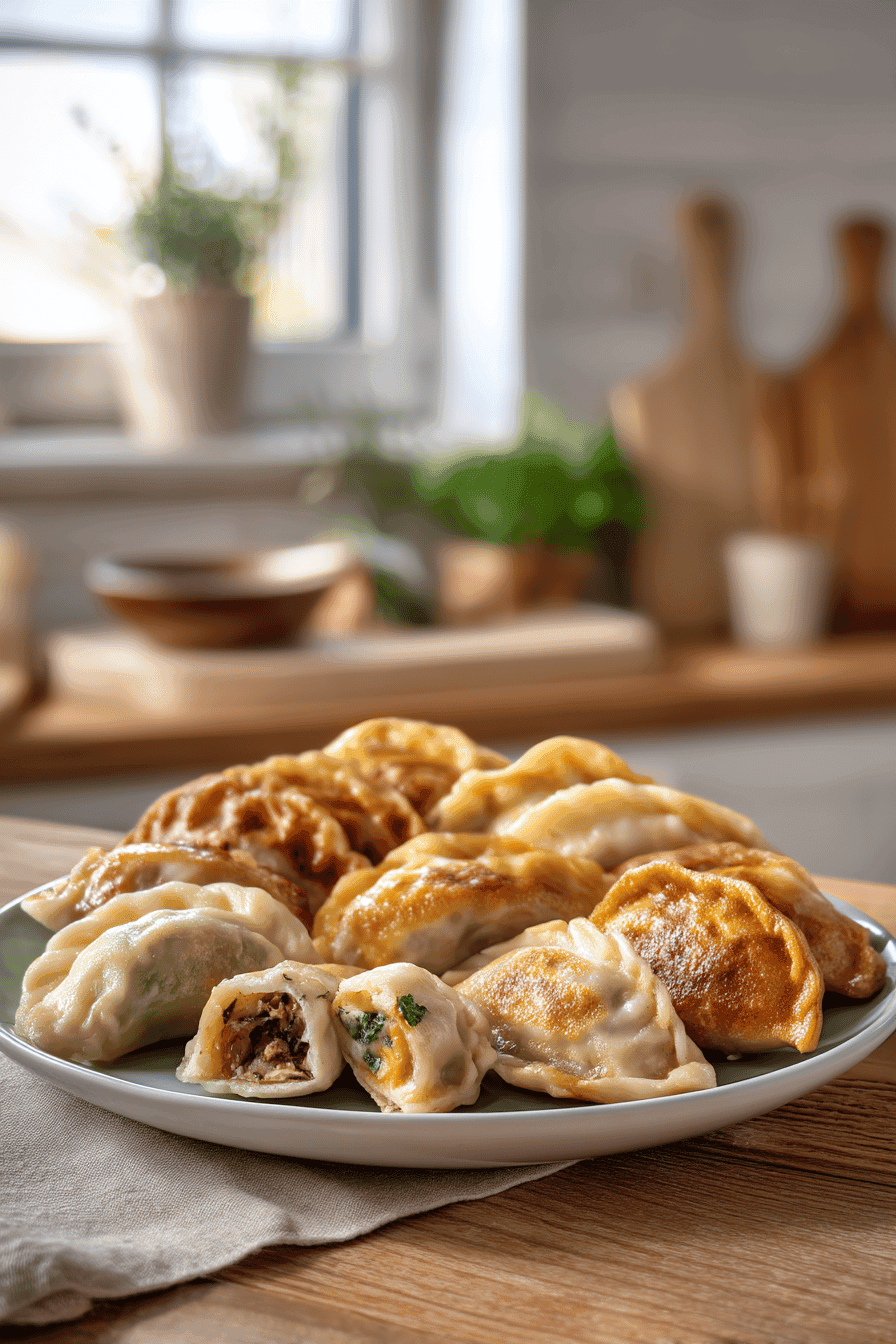
🥟 Dive into the comforting world of Polish cuisine with these homemade Traditional Dumplings, perfect for any occasion!
🧅 With their rich potato and cheese filling, topped with buttery onions, these pierogies are sure to impress your taste buds!
- Total Time: 2 hours 10 minutes
- Yield: 65 pierogies 1x
Ingredients
Dough:
6 cups (720g) all-purpose flour
2 large eggs (beaten)
6 tablespoons canola or vegetable oil
2 teaspoons salt
2 cups cold water (divided, use as needed, about 1½ cups initially)
Filling:
3 ¾ pounds (about 1.7 kg) baking potatoes (russet or similar starchy variety)
1 medium white onion, finely diced
⅓ cup (75g) salted butter, softened and divided
4 ½ cups (about 450g) finely shredded sharp cheddar cheese (best shredded fresh from a block)
Salt to taste
White pepper or finely ground black pepper to taste
For Serving:
1 onion (diced or thinly sliced)
2 tablespoons (28g) salted butter for frying
Sour cream (optional)
Instructions
1. Make the Dough:
In a large bowl, combine flour, salt, beaten eggs, oil, and about 1½ cups cold water. Mix to form a dough, adding more water if needed. Knead on a floured surface for 4–5 minutes until smooth and pliable. Cover with plastic wrap and let rest at room temperature for 30 minutes to 1 hour.
2. Prepare the Filling:
Peel and cut potatoes into 2-inch cubes. Boil in salted water for approximately 15 minutes until tender. Meanwhile, sauté finely diced onions in half of the butter over medium-low heat until soft. Drain potatoes and mash until smooth. Mix in cooked onions, shredded cheddar cheese, remaining butter, salt, and pepper until very smooth. Cool completely.
3. Assemble Pierogies:
Divide dough in half. Roll out one half on a floured surface to about ⅛-inch thickness. Use a 3-inch round cutter to cut circles. Place about 1 ½ tablespoons of filling in the center. Fold into a semi-circle, pressing edges firmly. Repeat.
4. Cook Pierogies:
Bring a large pot of salted water to a boil. Add pierogies in batches without crowding. Cook until they float, about 2–4 minutes. Transfer to a skillet with melted butter, frying until golden.
5. Serve:
Serve warm with sautéed onions and optional sour cream. Garnish with herbs if desired.
6. Freezing:
Place assembled pierogies on parchment-lined sheets, freeze until solid. Transfer to zippered bags for up to 4 months. Cook frozen by boiling until floating, then fry as usual.
Last Step:
Please leave a rating and comment letting us know how you liked this recipe! This helps our business to thrive and continue providing free, high-quality recipes for you.Notes
🥔 Use starchy potatoes like russets for a smooth, creamy filling.
🧀 Shred cheese freshly from a block for best flavor and texture.
🔪 Do not overwork the dough to keep it tender; roll to ⅛-inch thickness.
- Prep Time: 20 minutes
- Resting Time: 30 minutes
- Cook Time: 1 hour 20 minutes
- Category: Main Course
- Method: Boiling and Pan-Frying
- Cuisine: Polish
- Diet: Vegetarian
Nutrition
- Serving Size: 1 pierogi
- Calories: 109
- Sugar: 1g
- Sodium: 136mg
- Fat: 4g
- Saturated Fat: 3g
- Unsaturated Fat: 1g
- Trans Fat: 0g
- Carbohydrates: 14g
- Fiber: 1g
- Protein: 4g
- Cholesterol: 17mg


