Ingredients
200 grams cocoa powder for chocolatey base
300 grams flour for structure
2 cups milk for moisture and creaminess
100 grams sugar for sweetness and balance
Instructions
1-First Step: Gather Your Ingredients and Preheat the Oven Start by pulling together all your ingredients to make the process smooth. Preheat your oven to 350 degrees Fahrenheit to ensure even baking for these homemade peanut butter bars. This step helps avoid any last-minute rushes and lets you focus on creating that perfect peanut butter jelly base.
2-Second Step: Mix the Dry Ingredients In a large bowl, combine the flour, sugar, and any add-ins like oats for added texture. For dietary tweaks, use gluten-free flour if needed this keeps your peanut butter jelly bars adaptable. Mix until blended, which takes about 2 minutes, to form a solid callbacks for the bars’ structure.
3-Third Step: Add the Wet Ingredients Now, stir in the peanut butter and milk until the mixture is smooth and sticky. If you’re going vegan, swap the milk for a plant-based version to maintain that creamy consistency in your easy homemade jelly bars. This step usually takes 3-5 minutes and is where the magic happens for that signature flavor.
4-Fourth Step: Press into the Pan Press the mixture firmly into a greased baking pan for an even layer. For low-calorie options, reduce the peanut butter slightly to cut fats while keeping the bars tasty. Bake for 15 minutes at 350 degrees to set the base before adding the jelly.
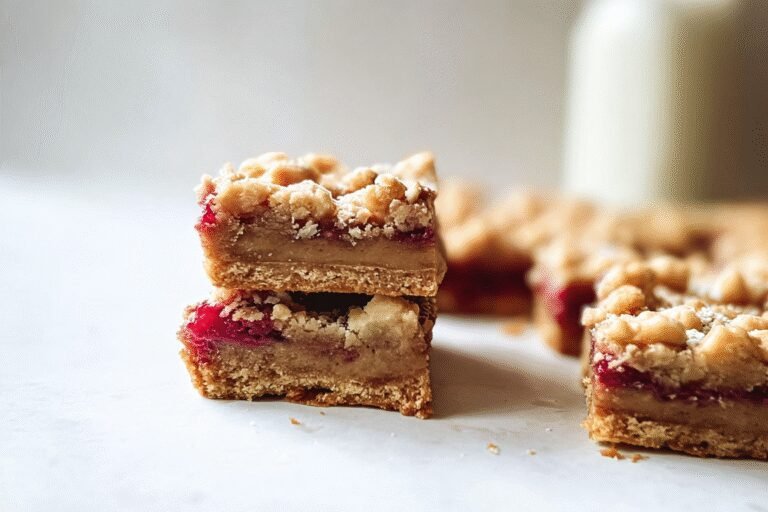
5-Fifth Step: Add the Jelly Layer Spread your favorite jelly evenly over the partially baked base. Choose low-sugar jelly for diet-conscious variations, and ensure it’s at room temperature for easy spreading. This step adds the fruity twist that makes these peanut butter and jelly bars a hit at any gathering.
6-Sixth Step: Top and Finish Baking Sprinkle any crumble topping over the jelly, then return to the oven for another 15-20 minutes until golden. Check for doneness to avoid overbaking, which can affect texture for those making gluten-free versions. Once done, let it cool for 10 minutes this helps the bars set properly.
7-Final Step: Cool and Serve Allow the bars to cool completely on a wire rack before cutting into squares. For community events, these easy peanut butter treats travel well, and you can pack them for picnics. Serve as is or with a side of fruit for a wholesome touch that everyone will enjoy.
Last Step:
Please leave a rating and comment letting us know how you liked this recipe! This helps our business to thrive and continue providing free, high-quality recipes for you.Notes
🌡️ For clean cuts, chill the bars in the refrigerator for 30 minutes before slicing – this prevents the jelly layer from oozing out
🍪 Don’t overmix the dough when combining the flour mixture – this keeps the bars tender instead of tough
🥜 Use natural peanut butter for a more intense peanut flavor, but regular creamy peanut butter works best for the right texture
- Prep Time: 20 minutes
- Cooling Time: 1 hour
- Cook Time: 35 minutes
- Category: Dessert
- Method: Baking
- Cuisine: American
- Diet: Vegetarian
Nutrition
- Serving Size: 1 bar
- Calories: 240
- Sugar: 18g
- Sodium: 120mg
- Fat: 14g
- Saturated Fat: 6g
- Unsaturated Fat: 7g
- Trans Fat: 0g
- Carbohydrates: 24g
- Fiber: 1g
- Protein: 4g
- Cholesterol: 30mg