Ingredients
– 2 cups cold milk
– 1 3.9 ounce package instant vanilla pudding
– 8 ounces whipped topping, thawed
– 1 package chocolate cookies, reserve 12 whole cookies
Instructions
1-First Step: Mix the pudding base Start by whisking together 2 cups cold milk and 1 3.9 ounce package instant vanilla pudding for 2 minutes. This step is quick, and it gives you the creamy base that holds the whole dessert together. After whisking, let the mixture thicken for 5 minutes. That short wait helps the pudding set up so the cups layer nicely later.
2-Second Step: Crush the cookies While the pudding thickens, place the chocolate cookies into a zip-top bag. Use a mallet or rolling pin to crush them into small crumbs. Leave a few little chunks if you like some texture. Be sure to reserve 12 whole cookies for topping each cup. This makes the finished dessert look fun and bakery-style.
3-Third Step: Fold in the whipped topping Once the pudding has thickened, gently mix in 8 ounces of thawed whipped topping. Stir until the mixture looks smooth and fluffy. This step makes the filling lighter and more spoonable. If you are making a lower-sugar version, this is also a good time to use a lighter whipped topping or a sugar-free pudding mix.
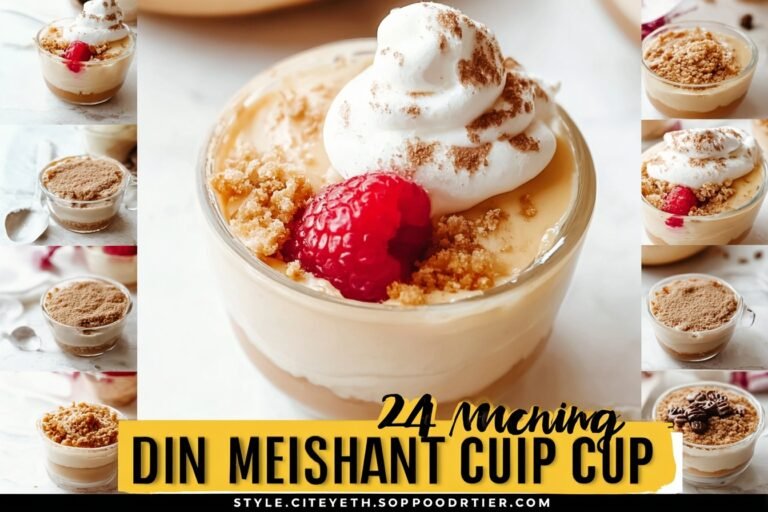
4-Fourth Step: Build the layers Now it is time for the fun part. Add a layer of crushed cookies to the bottom of each cup. Spoon the pudding mixture on top, then add another layer of cookie crumbs. Repeat if your cups are tall enough, but keep the layers neat so they show through the sides. Clear cups, shooter glasses, and mini mason jars work especially well because guests can see every layer.
5-Fifth Step: Finish with a cookie garnish Top each dessert cup with one whole chocolate cookie. This gives the cups a polished look and makes them easy to identify on a dessert table. If you want a playful dirt cake look, add gummy worms on top. For adult gatherings, leave them off and keep the presentation simple and classy.
6-Final Step: Chill and serve Place the cups in the fridge until serving time. Serve them chilled for the best flavor and texture. These Cookie Pudding Dessert Cups are perfect for parties, potlucks, and family movie nights because they are fast, portable, and loved by both kids and adults. If you are serving a crowd, make them ahead and keep them covered until it is time to enjoy.
Last Step:
Please leave a rating and comment letting us know how you liked this recipe! This helps our business to thrive and continue providing free, high-quality recipes for you.Notes
🪱 Add gummy worms between layers for a playful ‘dirt cup’ kids’ version.
📏 Use 2-3 oz cups for bite-sized treats or 4-6 oz for heartier servings.
❄️ Make ahead and chill overnight for best flavor infusion.
- Prep Time: 10 minutes
- Chill: 30 minutes
- Category: Dessert
- Method: No-Bake
- Cuisine: American
- Diet: Vegetarian
Nutrition
- Serving Size: 1 cup
- Calories: 228 kcal
- Sugar: 20g
- Sodium: 176mg
- Fat: 9g
- Saturated Fat: 3g
- Unsaturated Fat: 6g
- Trans Fat: 0g
- Carbohydrates: 34g
- Fiber: 1g
- Protein: 4g
- Cholesterol: 8mg