Ingredients
– ¼ cup gluten-free flour for light coating
– ½ teaspoon salt for basic seasoning
– ½ teaspoon pepper for subtle kick
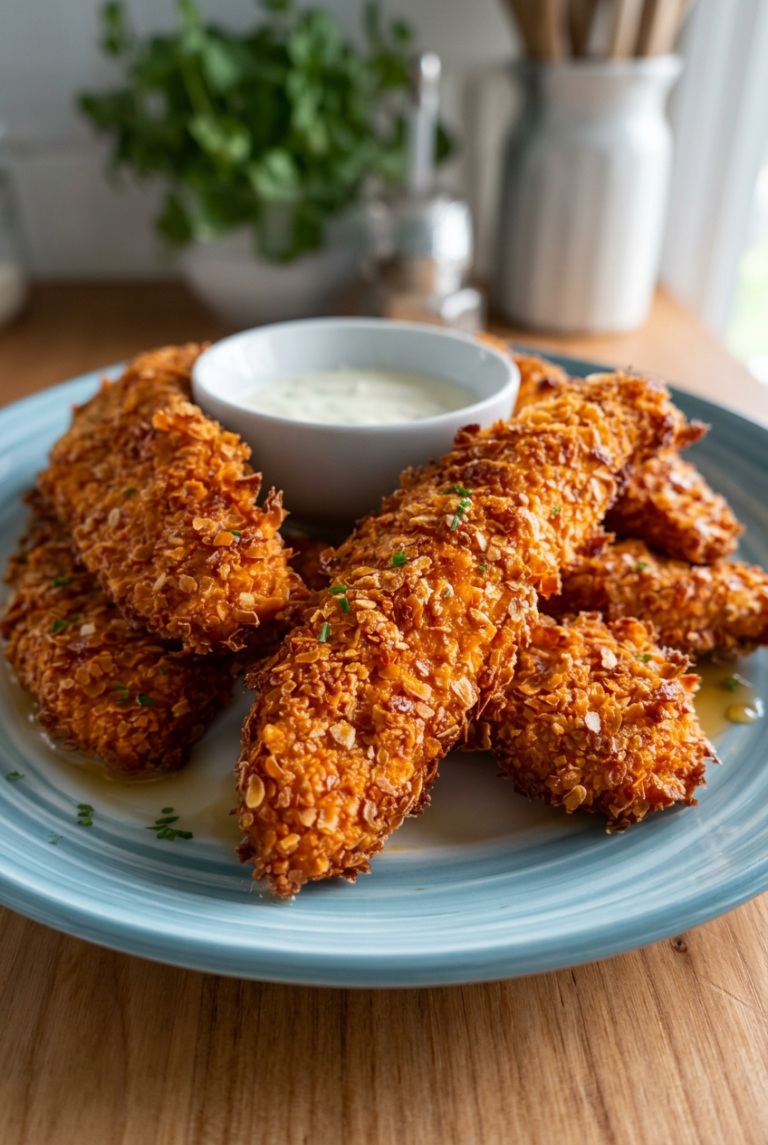
– 1 ½ pounds chicken tenderloins (mini chicken fillets in the UK) for main protein
– 4 tablespoons unsalted butter for cooking the chicken and building the sauce
– 3 cloves garlic, minced for bold aromatic flavor
– 3 tablespoons honey for sweet element
– 2 tablespoons low sodium soy sauce or tamari for gluten-free for savory depth
– 1 tablespoon apple cider vinegar or lemon juice for tangy contrast
– ½ teaspoon crushed red pepper flakes for gentle heat
– ¼ cup water for deglazing
– Chopped fresh parsley for garnish
Instructions
1-First: gather your ingredients and tools to set up your workspace this keeps everything organized and helps you move quickly through the steps. Mix the dry ingredients in a shallow dish for easy dredging, which sets the stage for that crispy exterior we all love.
2-Second: coat the chicken tenders in the flour mixture, making sure to shake off any excess for an even layer. This step is key because it locks in moisture and adds texture, turning simple chicken into something special. Cook the tenders in batches to avoid crowding the pan, which ensures they brown nicely without steaming.
3-Third: heat your skillet over medium-high and melt half the butter before adding the first batch of tenders. Flip them after 2-3 minutes once they’re golden, cooking until they reach 165°F inside for safety and tenderness. Set them aside while you handle the rest, keeping the process smooth and efficient.
4-Fourth: after cooking all the chicken, deglaze the pan with water to capture those flavorful bits stuck to the bottom. Let the liquid reduce a bit, which concentrates the taste and makes your sauce richer. This trick adds depth without extra effort, perfect for enhancing honey chicken tenders.
5-Building the Sauce: Add the garlic next and cook it for just 30 seconds to avoid bitterness, stirring constantly to release its aroma. Then, mix in the honey, soy sauce, vinegar, and red pepper flakes, letting it simmer for 1-2 minutes until it thickens. This creates a glossy sauce that clings to the chicken, making every bite memorable.
6-Fifth: return the chicken to the pan and flip the pieces to coat them thoroughly in the sauce. This step infuses the tenders with that sweet garlic flavor, turning them into a dish everyone will rave about. Serve them over jasmine rice or noodles for a complete meal that feels hearty and satisfying.
7-Sixth and final: garnish with chopped fresh parsley for a pop of color and freshness. This finishes the dish nicely and adds a hint of earthiness that balances the sweetness.
Last Step:
Please leave a rating and comment letting us know how you liked this recipe! This helps our business to thrive and continue providing free, high-quality recipes for you.Notes
🧄 Watch the garlic closely while sautéing—it cooks in just 30-60 seconds and can turn bitter if burnt, so stir promptly and remove from heat if needed.
🔥 Brown one side of the chicken tenders fully before flipping to lock in juices and achieve a crispy exterior without drying out the meat.
💧 Always deglaze the skillet with water after cooking the chicken to lift flavorful browned bits (fond) into the sauce, enhancing its depth and richness effortlessly.
- Prep Time: 5 minutes
- Cook Time: 15 minutes
- Category: Main Dishes
- Method: Skillet
- Cuisine: Asian Fusion
- Diet: Gluten-Free
Nutrition
- Serving Size: 6 ounces
- Calories: 352
- Sugar: 13g
- Sodium: 783mg
- Fat: 16g
- Saturated Fat: 8g
- Unsaturated Fat: 8g
- Trans Fat: 0g
- Carbohydrates: 15g
- Fiber: 0.3g
- Protein: 37g
- Cholesterol: 139mg