Benefits and Advantages of halloween pizza skulls
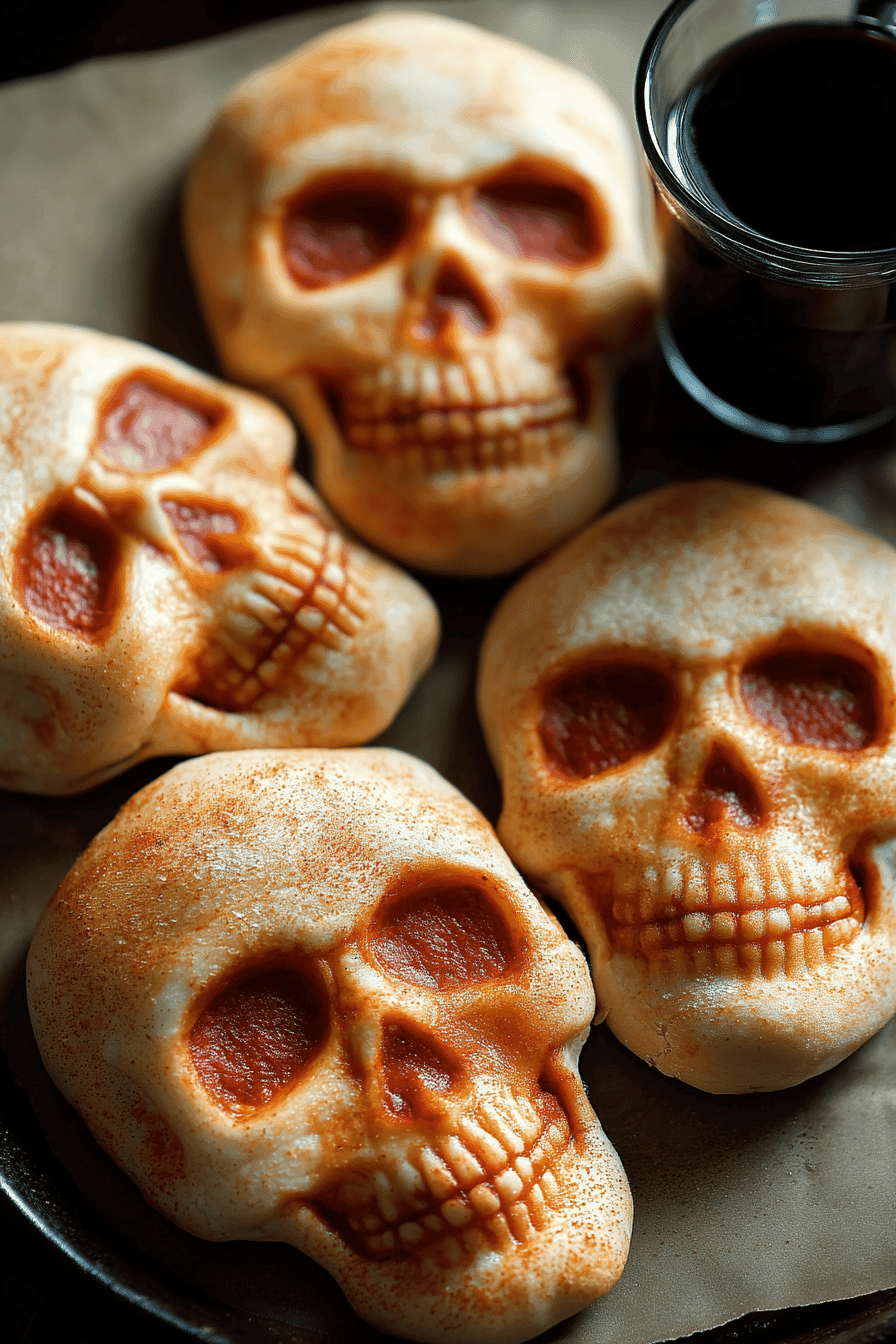
Halloween pizza skulls bring a fun and flavorful twist to traditional party foods, offering multiple benefits that make them an ideal choice for festive occasions or family meals. Their unique skull shape adds an engaging visual element that delights guests of all ages, turning an ordinary meal into a memorable experience that perfectly suits Halloween themes.
One significant advantage is their versatility. These pizza pockets can be customized with a variety of toppings, allowing individuals to cater to different dietary preferences and tastes. Whether you prefer classic mini pepperoni, savory sausage, fresh vegetables, or even pineapple for a subtle sweetness, halloween pizza skulls adapt easily. This flexibility makes them suitable for large gatherings where guests have diverse palates.
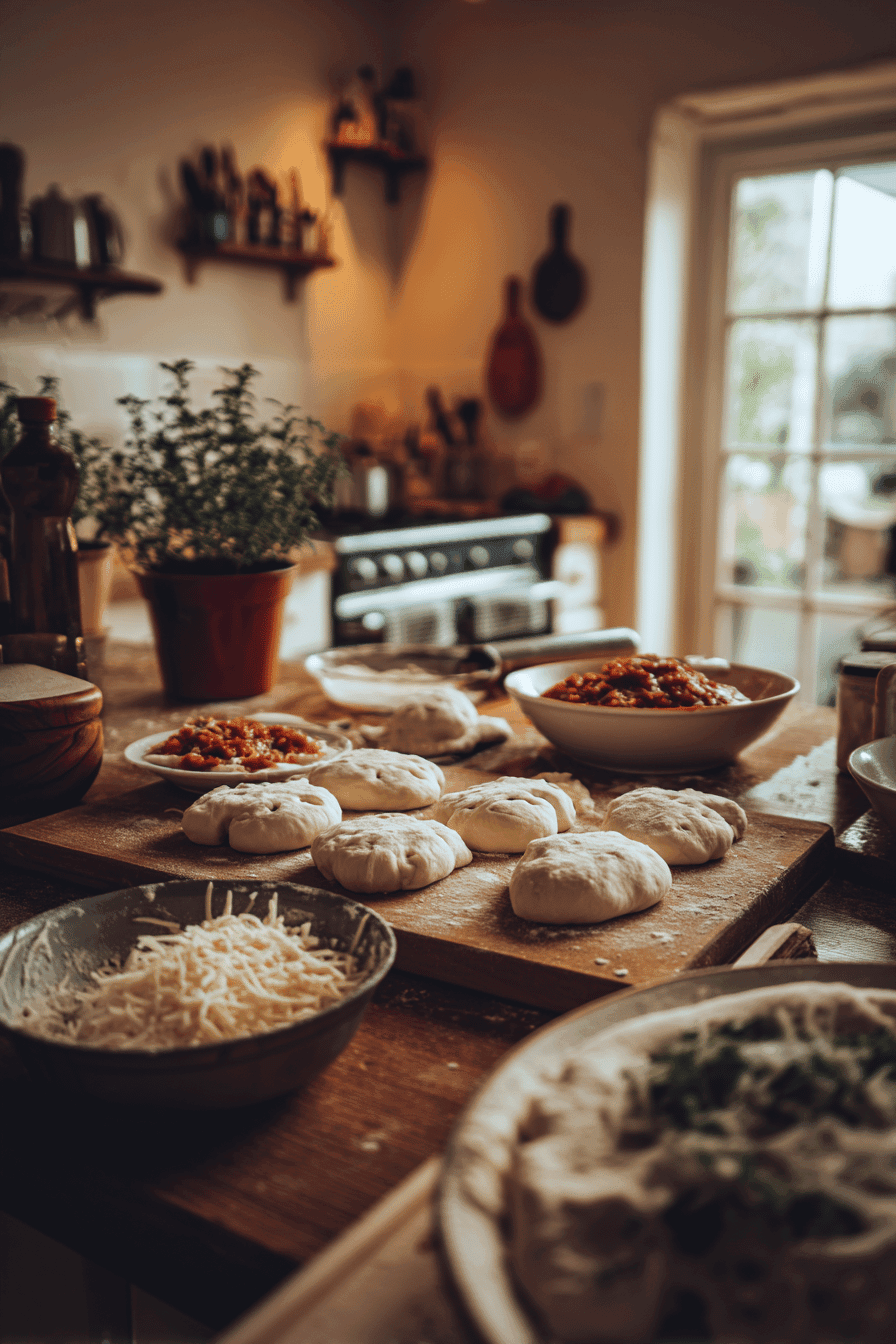
From a preparation standpoint, these pizza skulls are straightforward and efficient to make. Using pizza dough molded into skull shapes, combined with familiar ingredients like pizza sauce and mozzarella cheese, simplifies the cooking process without sacrificing flavor or appeal. Their pocket-style design naturally contains filling, minimizing mess and enabling easy serving and eating, perfect for parties or packed lunches.
“The blend of festive aesthetics and delicious taste sets halloween pizza skulls apart as a standout recipe for the season.”
Nutrition-wise, these pizza pockets can incorporate wholesome ingredients, including fresh vegetables like spinach and mushrooms or lean proteins such as ham and sausage. Using freshly shredded mozzarella cheese improves melting and texture, offering a creamy, satisfying bite. The option to modify ingredients to be vegan or gluten-free further enhances their appeal to a wide range of dietary needs.
In summary, halloween pizza skulls combine convenience, creativity, and customization, making them a beloved recipe that brings both fun and deliciousness to any Halloween celebration.
Jump to:
- Benefits and Advantages of halloween pizza skulls
- Essential Ingredients for halloween pizza skulls
- Ingredient Roles at a Glance
- Dietary Substitutions to Customize Your halloween pizza skulls
- Vegan Alternatives
- Gluten-Free Options
- Low-Calorie Variations
- Creative Ingredient Swaps
- How to Prepare the Perfect halloween pizza skulls: Step-by-Step Guide
- Step 1: Preheat the Oven
- Step 2: Prepare the Pan
- Step 3: Shape the Pizza Dough
- Step 4: Add the Fillings
- Step 5: Seal and Brush
- Step 6: Refrigerate Before Baking
- Step 7: Bake
- Step 8: Cool and Unmold
- Step 9: Finish and Serve
- Mastering halloween pizza skulls: Advanced Tips and Variations
- How to Store halloween pizza skulls: Best Practices
- Nutritional Value of halloween pizza skulls
- FAQs: Frequently Asked Questions About halloween pizza skulls
- What type of dough works best for making Halloween pizza skulls?
- How do I prepare and bake pizza skulls to avoid sticking and get the right crust texture?
- What toppings can I use for Halloween pizza skulls and how customizable is the recipe?
- Can I make Halloween pizza skulls ahead of time and what’s the best way to store and reheat them?
- What can I do if I don’t have a skull pan for making Halloween pizza skulls?
Essential Ingredients for halloween pizza skulls
To create authentic and flavorful halloween pizza skulls, using the right ingredients is key. Below is a structured list of ingredients that form the foundation of this festive dish:
- 3 rolls (approximately 33 ounces) of pizza dough – can be store-bought or homemade for a personalized touch
- 9 tablespoons pizza sauce – choose your favorite or a low-sodium version as preferred
- ¾ cup pizza toppings of choice – options include mini pepperoni, sausage, ham, pineapple, mushrooms, spinach, olives, or any vegetables you enjoy
- 2 cups shredded mozzarella cheese – preferably freshly shredded for better melting and texture
- ¼ cup grated Parmesan cheese (optional) – adds a sharp, savory accent
- 1 ½ tablespoons melted butter – for greasing the skull-shaped baking pan and optional brushing after baking
- 1 egg mixed with 1 teaspoon water (egg wash) – used to seal the dough edges securely and to brush the tops for a golden crust
These ingredients work harmoniously to give halloween pizza skulls their signature look and rich flavor. The pizza dough serves as the sturdy yet soft base molded into skull shapes. The sauce adds moisture and tang, while the mozzarella cheese provides creamy meltiness that holds the filling together. Toppings contribute both texture and taste, allowing customization according to personal preference.
For those interested in crafting dough at home, learning how to make homemade pizza dough can elevate the recipe, providing superior freshness and control over ingredients.
Ingredient Roles at a Glance
| Ingredient | Role in Recipe | Substitution Ideas |
|---|---|---|
| Pizza Dough | Base shaped into skulls, provides structure | Gluten-free dough, crescent roll dough |
| Pizza Sauce | Adds moisture and tangy flavor | Dairy-free pesto or white garlic sauce |
| Mozzarella Cheese | Melts to create creamy texture | Plant-based vegan cheese |
| Toppings | Customize taste and visual appeal | Vegetables or plant-based meats |
| Butter (melted) | Prevents sticking and adds richness | Olive oil or dairy-free butter |
| Egg Wash | Seals edges and promotes golden crust | Aquafaba or milk alternative for vegans |

Dietary Substitutions to Customize Your halloween pizza skulls
Halloween pizza skulls are highly adaptable, allowing you to tailor the recipe to meet a variety of dietary preferences, allergies, and ingredient availability. Below are useful substitution ideas to help customize your spooky treats without compromising on deliciousness.
Vegan Alternatives
- Replace traditional mozzarella cheese with plant-based vegan cheese to keep the creamy melt without dairy.
- Use dairy-free pizza dough or homemade crust using vegan-friendly ingredients.
- Switch pizza sauce to vegan options such as pesto made without cheese or traditional tomato sauce that contains no animal products.
- Fill the pizza skulls with vegetables such as spinach, mushrooms, olives, and bell peppers instead of meat toppings.
Gluten-Free Options
- Choose a gluten-free pizza dough available from many stores or prepare one yourself using gluten-free flour blends.
- Avoid cross-contamination by thoroughly cleaning utensils and surfaces prior to baking.
Low-Calorie Variations
- Swap regular pizza dough for a cauliflower crust to cut carbohydrates and boost fiber.
- Reduce cheese quantity or use low-fat mozzarella cheese varieties.
- Focus on vegetable toppings like mushrooms, spinach, and olives while limiting processed meats.
Creative Ingredient Swaps
- If pineapple is not preferred, explore options like sun-dried tomatoes for a different sweetness and texture. Pineapple also offers numerous health benefits as outlined here.
- Use zucchini strips or thin carrot ribbons as decorative and tasty additions.
- Replace egg wash with a mixture of water and flour or aquafaba for a vegan-friendly glaze to seal and brown the dough.
“Flexible substitutions make halloween pizza skulls a dish everyone can enjoy regardless of dietary needs.”
Whether you’re accommodating allergies, aiming for healthier options, or experimenting with new flavors, these substitutions keep the festive spirit alive while supporting diverse diets. The easy adaptability of this recipe means there’s always a way to make halloween pizza skulls your own.
How to Prepare the Perfect halloween pizza skulls: Step-by-Step Guide
Follow this detailed guide to prepare mouthwatering halloween pizza skulls that are visually appealing and delicious.
Step 1: Preheat the Oven
Set your oven temperature between 375 and 400 degrees Fahrenheit depending on your oven’s specifics and the size of your skull pan. A hotter oven (around 400°F) works well with smaller pans for crisper crusts.
Step 2: Prepare the Pan
Grease your skull-shaped baking pan thoroughly with 1 ½ tablespoons of melted butter. This step is essential to prevent sticking and to help the crust brown beautifully after baking.
Step 3: Shape the Pizza Dough
Cut and press the pizza dough evenly into each skull cavity, ensuring the dough covers the edges well to allow proper sealing of the pockets. Proper shaping prevents fillings from leaking during baking.
Step 4: Add the Fillings
- Place approximately 2 tablespoons of pizza sauce inside each skull cavity.
- Add about 2 tablespoons of your chosen pizza toppings.
- Sprinkle ⅓ cup shredded mozzarella cheese and a pinch of Parmesan cheese (optional).
- Add a small spoonful of pizza sauce on top before sealing to add moisture and flavor.
Step 5: Seal and Brush
Pinch the dough edges tightly together, using an egg wash made from 1 egg and 1 teaspoon water as glue to seal. Brush the tops of each pizza skull with egg wash for a shiny, golden crust once baked.
Step 6: Refrigerate Before Baking
Place the filled pan in the refrigerator for about 30 minutes. Chilling allows the dough to set, improving shape retention and preventing the stuffed pockets from spreading out during baking.
Step 7: Bake
Cook in the preheated oven for:
- 18-20 minutes for smaller skull pans
- 28-30 minutes for larger skull pans
Bake until the crust is golden brown and cooked through. Avoid overbaking, which can dry out the dough.
Step 8: Cool and Unmold
Let the pizza skulls cool for about 5 minutes. Carefully turn the pan over to unmold the skulls, ensuring they maintain their shape.
Step 9: Finish and Serve
Optionally brush with melted butter for extra richness before serving. Pair with marinara sauce for dipping. Garnish with fresh herbs such as chopped parsley or basil to enhance flavor and presentation.
Following this step-by-step process guarantees perfectly shaped and flavorful halloween pizza skulls that impress guests and delight family members alike.
For more tips on dough handling and shaping creative pizza treats, check out our detailed advice on using homemade pizza dough.
Mastering halloween pizza skulls: Advanced Tips and Variations
For those looking to master halloween pizza skulls, a few advanced tips can elevate the dish further. Use high-quality dough, either homemade or artisanal, to achieve a crisp yet chewy base that holds the skull shape well during baking. Experiment with different cheese blends, such as mozzarella combined with provolone or vegan cheese variations, to add depth of flavor. Try incorporating herbs like oregano and basil into the sauce for extra zest.
Variations can include adding spicy toppings such as jalapeños or substituting traditional tomato sauce for a white garlic sauce to create a unique twist. For decoration, consider using colorful vegetable toppings like red onion rings or cherry tomato halves to enhance the spooky design. Finally, to add a smoky flavor, roasting some ingredients prior to assembly can make a noticeable difference.
These tips and variations allow cooks to customize halloween pizza skulls to personal tastes while maintaining the festive theme.
How to Store halloween pizza skulls: Best Practices
To store halloween pizza skulls effectively, place any leftovers in an airtight container to maintain freshness. Refrigerate them if consumption is planned within 2-3 days. For longer preservation, freeze the skulls individually wrapped in plastic wrap and then placed in a freezer-safe bag, which allows for easy thawing and prevents freezer burn.
When reheating, preheat the oven to 375°F (190°C) and warm the pizza skulls on a baking sheet for 8-10 minutes until heated through and the crust regains its crispness. Avoid microwave reheating as it can make the crust soggy.
Proper storage and reheating techniques help retain the texture and flavor of halloween pizza skulls, ensuring they remain enjoyable even after initial preparation.
Nutritional Value of halloween pizza skulls
Halloween pizza skulls provide a balanced nutritional profile depending on ingredient choices. A typical serving contains approximately 250-300 calories, with fat content ranging from 8 to 15 grams depending on cheese and meat toppings. The protein content is usually around 12-15 grams, contributed by cheese and any added meats or plant-based alternatives.
Carbohydrates primarily come from the pizza dough, averaging 30-40 grams per serving, with fiber content varying based on crust type and vegetable additions. Those opting for gluten-free or cauliflower crust alternatives may experience lower carbohydrate intake and increased fiber. Sodium levels can be moderated by choosing low-sodium tomato sauce and limiting processed meat toppings.
Vitamins and minerals such as calcium, vitamin C, and iron are present due to cheese and vegetable toppings, making halloween pizza skulls a festive yet nourishing choice for holiday gatherings.