
Benefits and Advantages of Dirt Pie
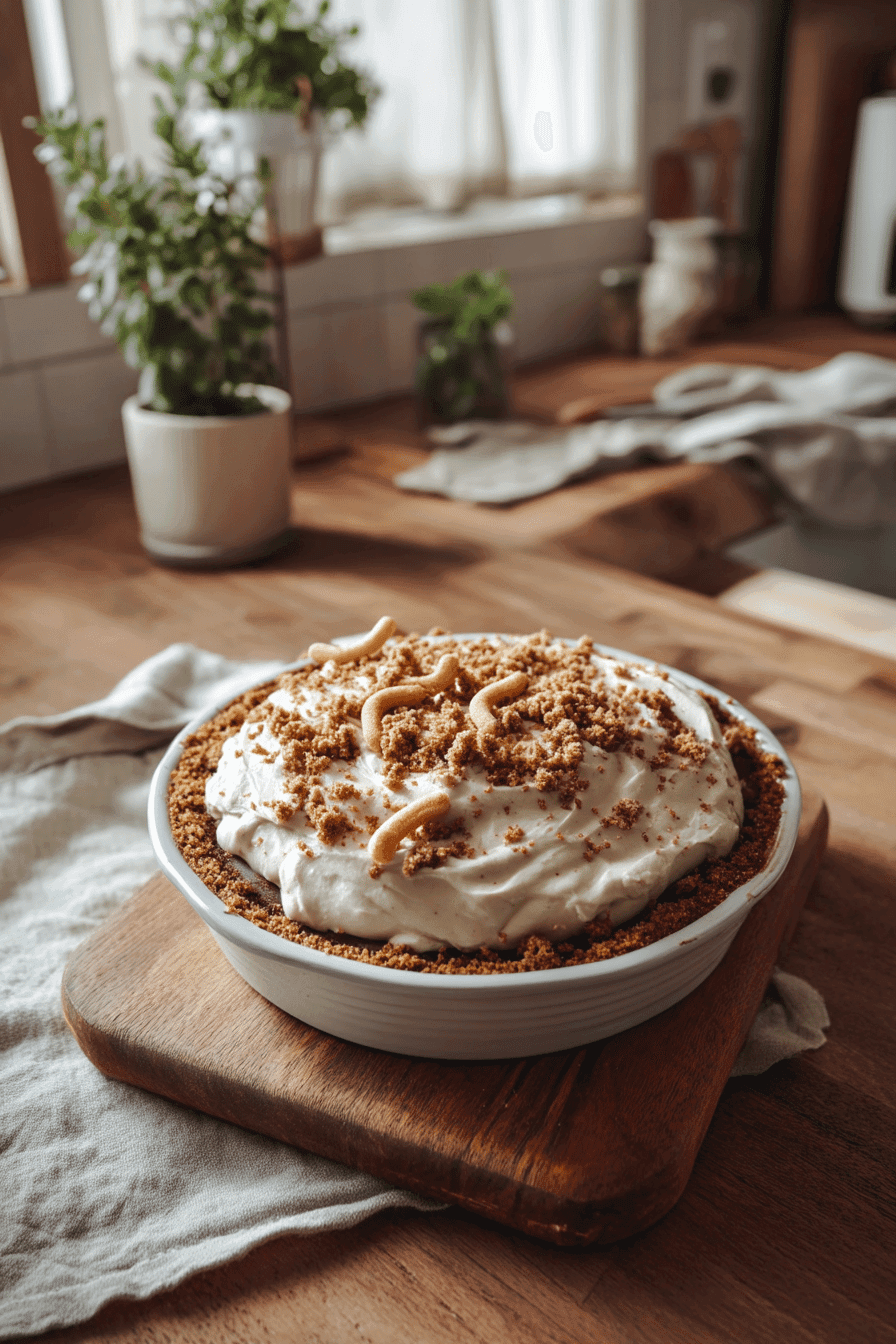
Dirt pie offers a delightful combination of ease and nutritional benefits, making it an ideal choice for both novice and experienced cooks. Its simple preparation process means you can create a delicious dessert with minimal effort, perfect for busy schedules or last-minute gatherings. This recipe highlights health advantages by incorporating wholesome ingredients that contribute to a balanced diet. Its versatility allows you to enjoy a rich taste while customizing it to be vegan, gluten-free, or low-calorie. By using natural sweeteners and nutrient-dense components, dirt pie stands out as a guilt-free indulgence. The dessert’s appeal also lies in its unique, playful presentation combined with a satisfying texture, ensuring it remains a crowd favorite across diverse age groups.
Jump to:
- Benefits and Advantages of Dirt Pie
- Essential Ingredients for Dirt Pie
- Dietary Substitutions to Customize Your Dirt Pie
- How to Prepare the Perfect Dirt Pie: Step-by-Step Guide
- Mastering Dirt Pie: Advanced Tips and Variations
- How to Store Dirt Pie: Best Practices
- Nutritional Value of Dirt Pie
- FAQs: Frequently Asked Questions About Dirt Pie
- What is dirt pie and what ingredients does it usually have?
- How do I make dirt pie from scratch without using store-bought whipped topping?
- Can I prepare dirt pie ahead of time, and how should I store leftovers?
- What can I use if I don’t have gummy worms or mini marshmallows for the dirt pie?
- How long should I freeze dirt pie before serving, and how do I serve it best?
- No-Bake Oreo Dirt Pie Recipe with Edible Worms for a Fun Dessert
- Ingredients
- Instructions
- Last Step:
- Notes
- Nutrition
- Did you make this recipe?
Essential Ingredients for Dirt Pie
- 20 ounces (about 560 grams) crushed chocolate cookies (such as Oreo cookies, finely crushed)
- 2 (3 1/2 ounce / 99 grams each) packages pudding mix (chocolate or a mix of chocolate and vanilla)
- 3 1/2 cups (825 ml) milk (skim, 2%, or whole milk)
- 12 ounces (340 grams) whipped topping or stabilized whipped cream, thawed
- 8 ounces (227 grams) cream cheese, softened
- 1 cup (200 grams) sugar
- 1/4 cup (57 grams) room temperature butter
- 16–20 gummy worms (optional, for playful decoration)
Each ingredient plays a vital role: crushed cookies form the crunchy “dirt” crust; pudding mix and milk create a creamy base; cream cheese and butter add richness and creaminess; whipped topping contributes lightness; and gummy worms provide fun decoration. For dietary needs, plant-based pudding and dairy-free whipped toppings can be used to adjust the recipe.
Dietary Substitutions to Customize Your Dirt Pie
Dirt pie easily accommodates various dietary preferences through straightforward substitutions. For vegans, replace dairy-based pudding with almond or soy-based pudding mixes, and use coconut whipped cream or other dairy-free whipped toppings. To make it gluten-free, substitute the crushed chocolate cookies with certified gluten-free chocolate cookie crumbs or gluten-free biscuits. For a lower-calorie option, select sugar-free pudding mixes and light or fat-free whipped toppings. Nut-free adaptations can be managed by ensuring the cookie crumbs and toppings contain no nut traces and are from safe brands. Natural sweeteners such as stevia or monk fruit can replace sugar to reduce added sugar content while maintaining sweetness. These substitutions allow dirt pie to remain accessible, delicious, and fun for every dietary requirement without sacrificing its classic texture and flavor.
How to Prepare the Perfect Dirt Pie: Step-by-Step Guide
- Crush the cookies: Use a food processor or place the cookies in a sealed bag and crush with a rolling pin until finely ground. For gluten-free versions, use appropriate cookie substitutes.
- Prepare pudding: Whisk pudding mix with cold milk as per package instructions until fully thickened. For a vegan version, use plant-based pudding and non-dairy milk.
- Mix cream cheese layer: In a large bowl, beat the softened cream cheese, butter, and sugar until smooth and well combined. Microwaving the cream cheese briefly can help avoid lumps.
- Fold whipped topping: Gently fold the whipped topping or stabilized whipped cream into the pudding mixture, keeping the texture light and fluffy.
- Combine pudding with cream cheese: Carefully fold the pudding and whipped topping mixture into the cream cheese mixture, maintaining a light and airy texture without overmixing.
- Assemble layers: Press half the crushed cookies into the bottom of a 12-inch pan or individual serving bowls to form the base layer.
- Add filling: Spoon or pour half of the cream cheese and pudding mixture on top of the cookie base, spreading it evenly.
- Repeat layers: Add the remaining crushed cookies on top, creating the dirt effect, then carefully layer the rest of the pudding mixture over or swirl in for a marbled appearance.
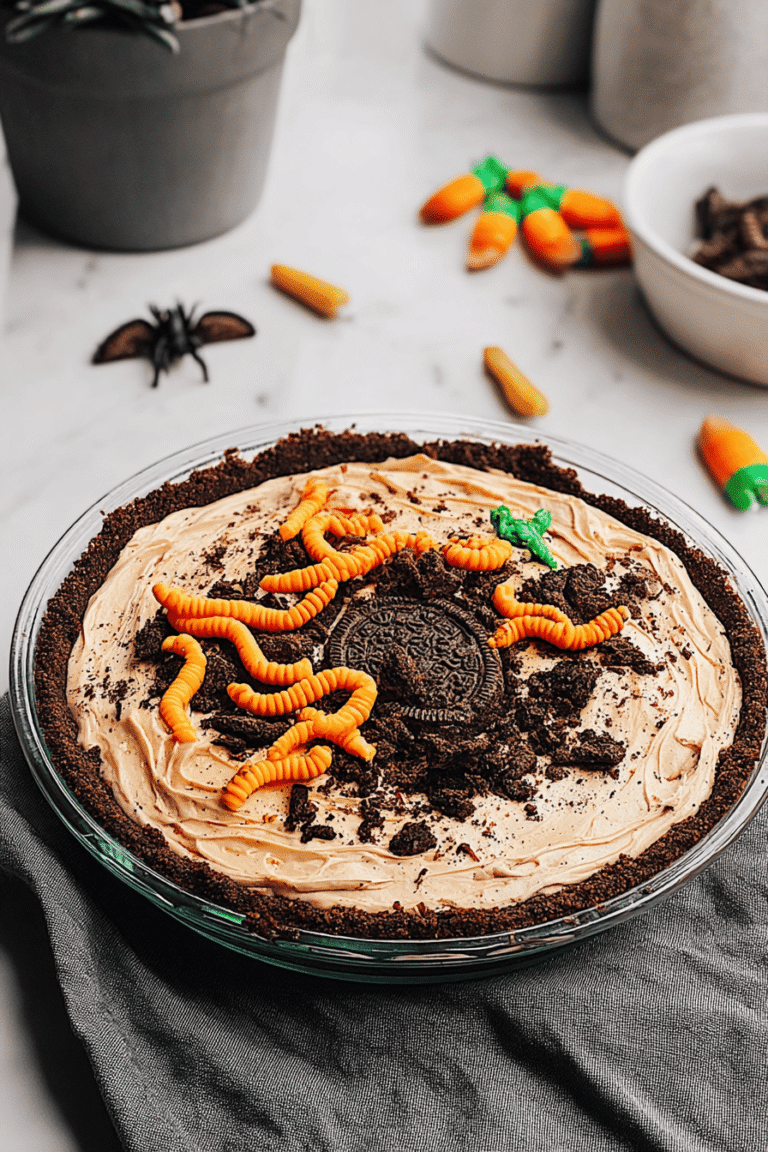
- Garnish: Decorate the top by placing gummy worms, tucking some partially under the cookie crumbs for a realistic, playful look.
- Chill: Refrigerate the assembled pie for at least two hours to allow proper setting and flavor melding. Adjust chilling time for any dairy-free or vegan substitutes.
- Serve and enjoy: Serve chilled for a rich, creamy, crunchy, and whimsical dessert sensation that delights both kids and adults alike.
Mastering Dirt Pie: Advanced Tips and Variations
To take your dirt pie to the next level, consider using a mix of chocolate and vanilla pudding to enhance both flavor and the visual effect, making the layers look more natural and varied. For a creamier texture, fold in softened cream cheese into the pudding mixture before adding the whipped topping. Stabilized whipped cream is a great option to maintain the mousse-like consistency longer than traditional whipped topping.
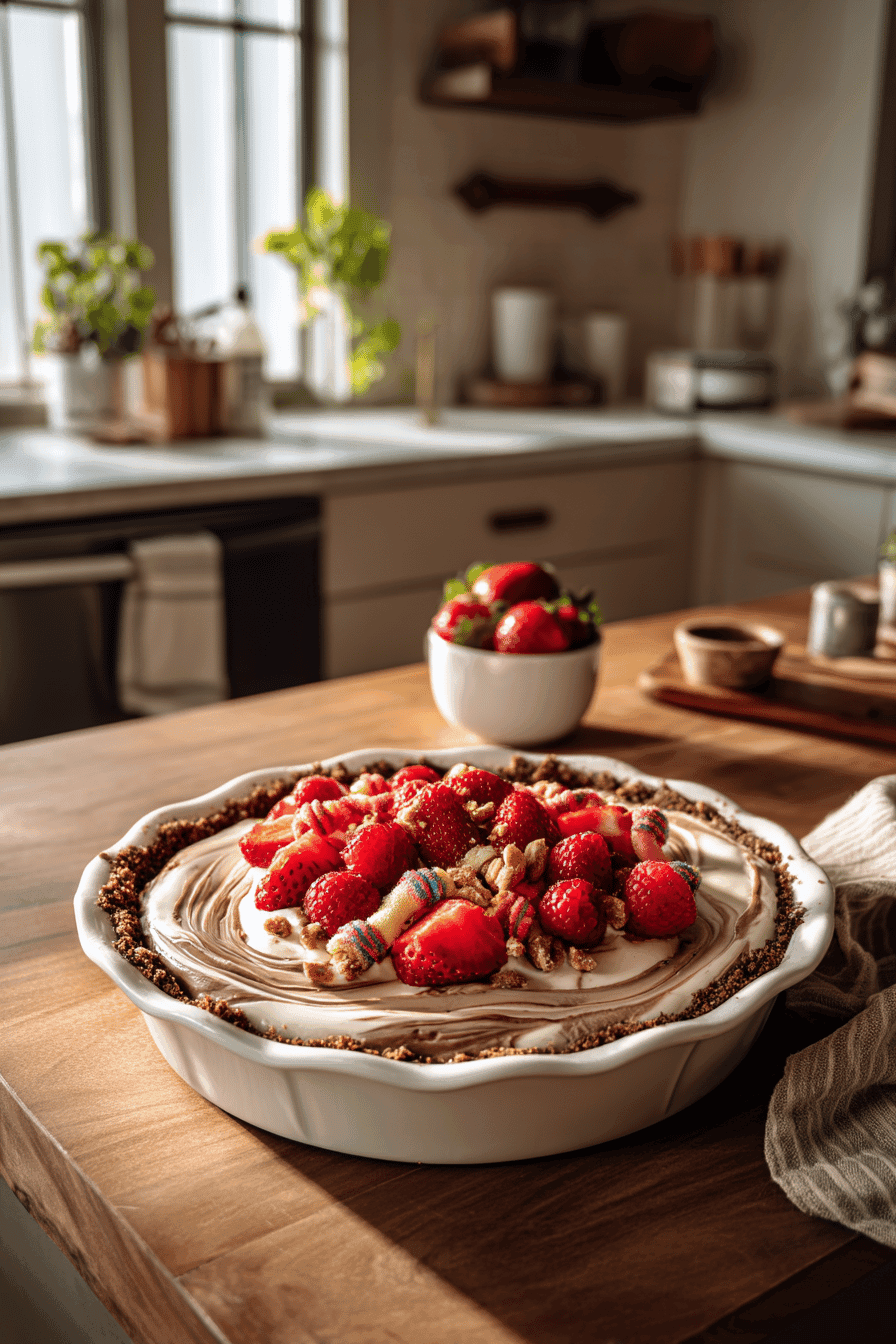
For added freshness and flavor, try incorporating a layer of sliced strawberries or raspberries between layers, offering a contrast to the rich chocolate. Mix crushed nuts like pecans or almonds into the cookie base or sprinkle on top for extra crunch omit nuts for those with allergies. For a whimsical touch, swap gummy worms for sour worms or mini fruity candies to suit your taste.
These variations give you creative freedom while keeping the beloved textures and playful presentation of the classic dirt pie intact.
How to Store Dirt Pie: Best Practices
Store your dirt pie in the refrigerator covered securely with plastic wrap or use an airtight container to prevent it from absorbing other odors and drying out. For best flavor and texture, consume within 3 days. When freezing, avoid topping the pie with gummy worms before freezing because their texture will deteriorate; instead, add gummy worms after thawing.
To thaw, place the dirt pie in the refrigerator overnight, allowing it to maintain its creamy texture. Avoid microwaving as this can break down the pudding and whipped mixture, resulting in an undesirable texture. Proper storage ensures the dirt pie remains fresh, creamy, and crunchy for whenever you’re ready to enjoy it again.
Nutritional Value of Dirt Pie
| Nutrient | Amount per Serving | Nutrition Notes |
|---|---|---|
| Calories | 250-300 kcal | Varies with ingredients used; moderate calorie dessert option |
| Fat | 10-15 g | Primarily from whipped topping and cookie base; fat content varies |
| Protein | 3-5 g | Derived mainly from milk and cream cheese in the pudding mixture |
| Carbohydrates | 35-40 g | Includes sugar from cookies and pudding; main energy source |
| Fiber | 1-3 g | Dependent on type of cookies used; adds digestive benefits |
| Sugar | 20-25 g | Includes natural and added sugars; can be lowered with alternatives |
| Vitamins & Minerals | Modest amounts of calcium and iron | From milk-based ingredients and cocoa in cookies |
FAQs: Frequently Asked Questions About Dirt Pie
What is dirt pie and what ingredients does it usually have?
How do I make dirt pie from scratch without using store-bought whipped topping?
Can I prepare dirt pie ahead of time, and how should I store leftovers?
What can I use if I don’t have gummy worms or mini marshmallows for the dirt pie?
How long should I freeze dirt pie before serving, and how do I serve it best?
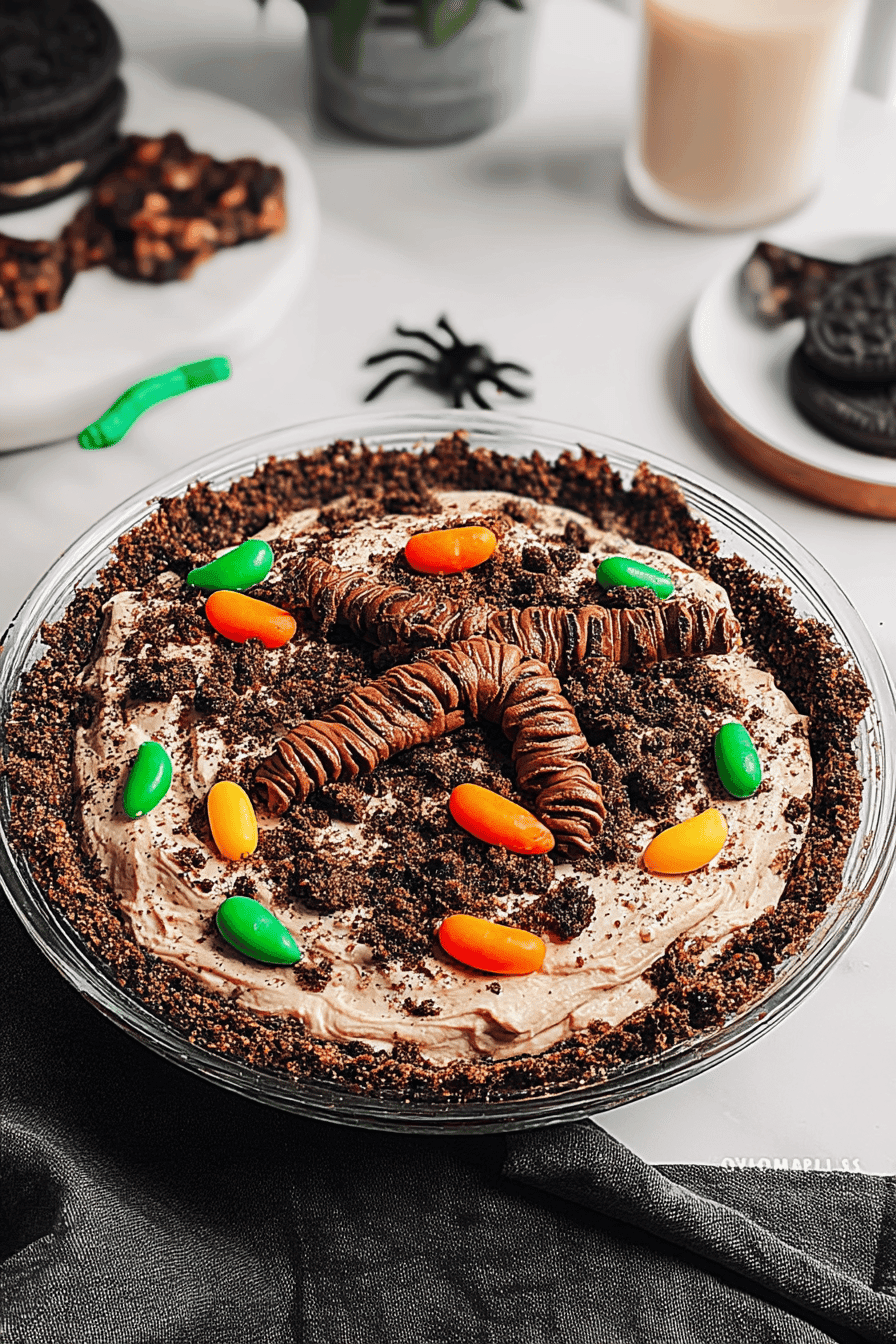
No-Bake Oreo Dirt Pie Recipe with Edible Worms for a Fun Dessert
🥧 Dive into a playful and delicious treat with this no-bake Oreo dirt pie, perfect for parties and family gatherings.
🪱 With its creamy, mousse-like layers and fun gummy worm topping, this dessert is both whimsical and satisfying.
- Total Time: 2 hours 20 minutes
- Yield: 12 servings 1x
Ingredients
1/4 cup (57g) room temperature butter
8 ounces (227g) cream cheese, softened
1 cup (200g) sugar
2 (3 1/2 ounce / 99g each) packages pudding mix (chocolate or a mix of chocolate and vanilla)
3 1/2 cups (825ml) milk (skim, 2%, or whole milk)
12 ounces (340g) whipped topping or stabilized whipped cream, thawed
20 ounces (about 560g) crushed chocolate cookies (such as Oreo cookies, finely crushed)
16–20 gummy worms (optional)
Instructions
1. In a large bowl, beat the butter, cream cheese, and sugar together until smooth. It helps to microwave the cream cheese lightly before mixing to prevent lumps.
2. In a separate bowl, whisk together the milk and pudding mix until thickened. Then gently fold in the whipped topping until fully combined.
3. Carefully fold the pudding mixture into the cream cheese mixture until harmonious but still light and fluffy. Do not overmix.
4. Use half of the crushed cookies to press into the bottom of a 12-inch pan or layer in individual bowls.
5. Spoon or pour the cream cheese and pudding mixture over the cookie crust layer.
6. Top with the remaining crushed cookies and garnish with gummy worms.
7. Refrigerate for at least 2 hours before serving to set the pie properly.
Last Step:
Please leave a rating and comment letting us know how you liked this recipe! This helps our business to thrive and continue providing free, high-quality recipes for you.Notes
🍪 Using both chocolate and vanilla pudding enhances both flavor and dirt-like appearance.
🍦 Stabilized whipped cream is an excellent substitute for a lighter texture and maintains consistency.
🏖️ For a themed look, serve with graham cracker ‘sand’ or blue-tinted whipped topping as ‘waves’.
- Prep Time: 20 minutes
- Refrigeration: 2 hours
- Category: Dessert
- Method: No-Bake
- Cuisine: American
- Diet: Vegetarian
Nutrition
- Serving Size: 1 slice
- Calories: 350
- Sugar: 29g
- Sodium: 260mg
- Fat: 20g
- Saturated Fat: 11g
- Unsaturated Fat: 7g
- Trans Fat: 0g
- Carbohydrates: 37g
- Fiber: 1g
- Protein: 4g
- Cholesterol: 35mg


